To set up internal static IP it is required to install Azure PowerShell in the local machine. Downloads available here.
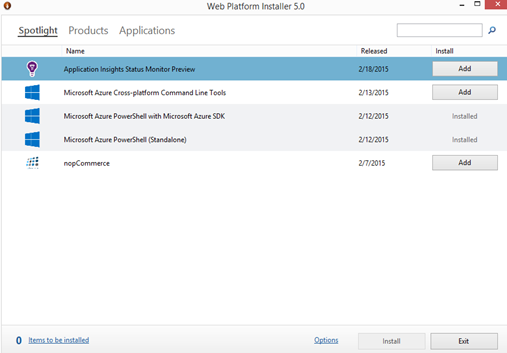
Install Azure PowerShell.
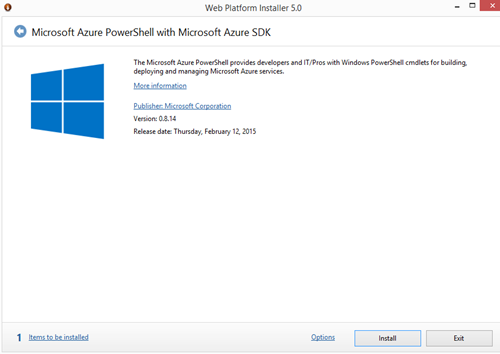
Web Platform Installer will download and install Microsoft Azure PowerShell with Azure SDK.
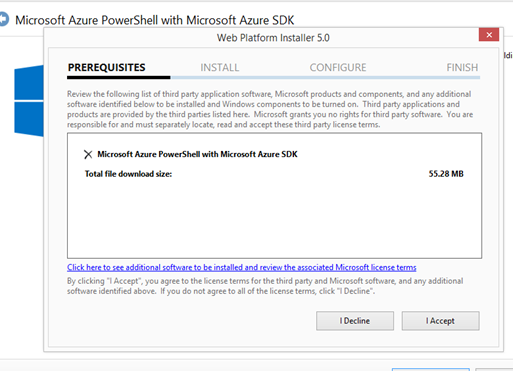
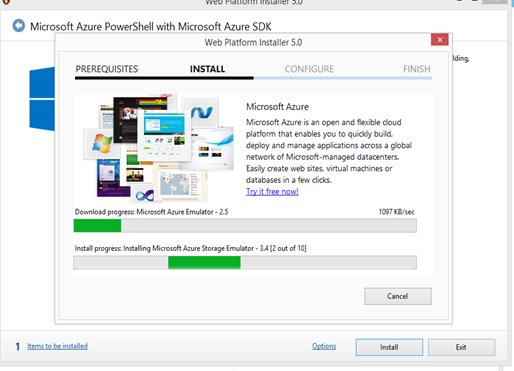
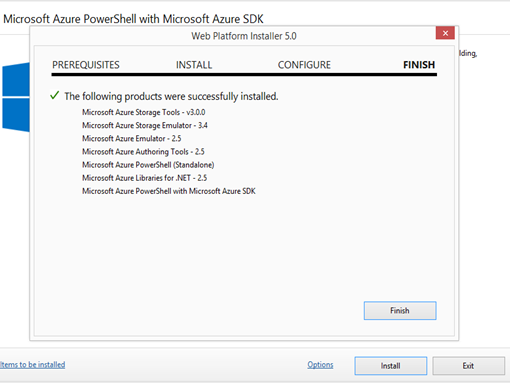
Installation of Azure PowerShell completed.
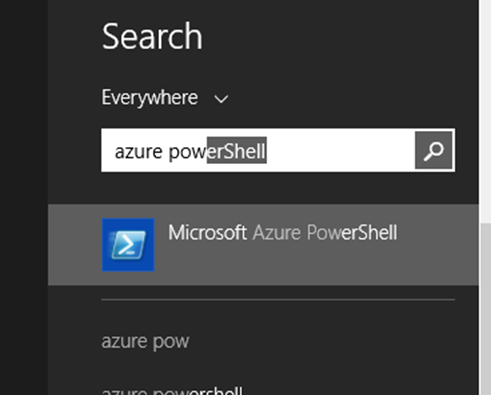
Launch Azure PoweShell.
Test IP address availability in Azure Virtual Network with following command.
Test-AzureStaticVNetIP –VNetName VirtualNetworkName –IPAddress IP
Example
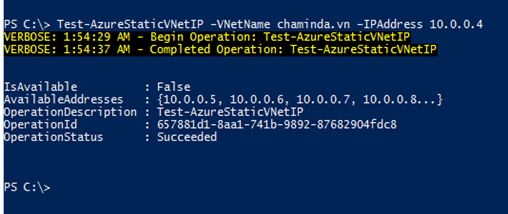
Test-AzureStaticVNetIP –VNetName chaminda.vn –IPAddress 10.0.0.4
This throw an exception if the Azure Subscription Account is not added in Azure PowerShell. To add Azure Account execute “Add-AzureAccount” command.
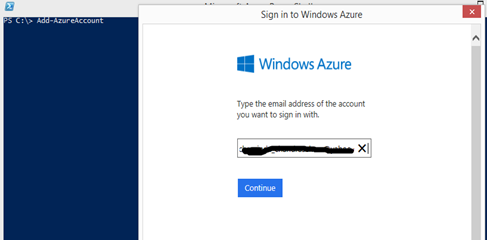
Sign in.
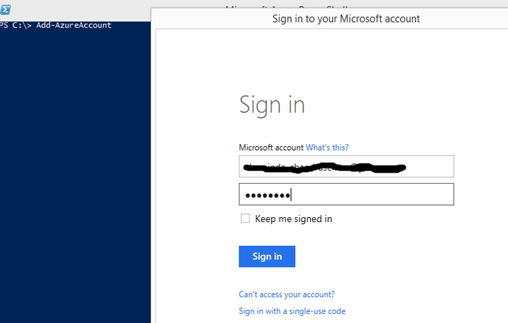
Subscription account will be added.
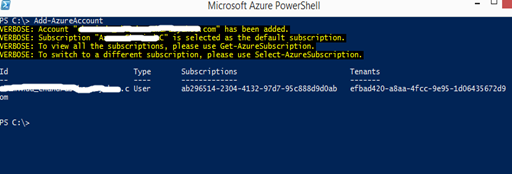
If required to change azure subscription name before adding the account follow the instructions available here.
Execution of Test-AzureStaticVNetIP succeeds after adding the account. It shows specified IP is available or not and available few IPs to use.
To set an static internal IP for Azure VM execute below command.
Get-AzureVM -ServiceName CloudServiceName -Name VMName | Set-AzureStaticVNetIP -IPAddress IPAddress | Update-AzureVM
Example
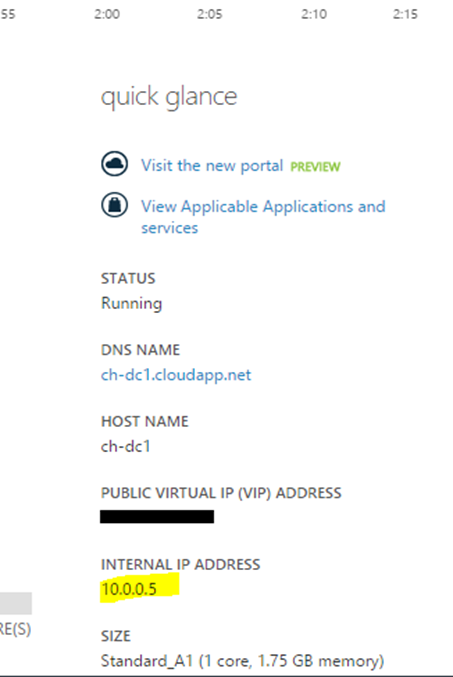
Get-AzureVM -ServiceName ch-dc1 -Name ch-dc1 | Set-AzureStaticVNetIP -IPAddress 10.0.0.5 | Update-AzureVM
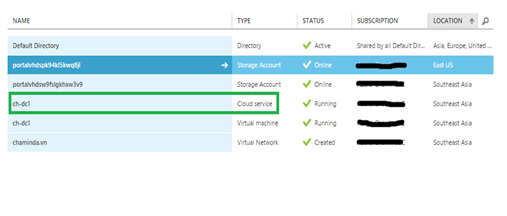

This will set specified internal IP to the VM.


No comments:
Post a Comment